Spring Boot 3.2 · PostgreSQL · JWT · REST API

NotiFlow App

A production-ready notification microservice you deploy, not integrate.
REST API in, WebSocket notifications out — with persistent queuing, an admin GUI, and zero client-side library requirements.

Get Started Full Documentation
docker run -p 8080:8080 notiflow-app:latest
Features

Everything included, nothing to implement

Deploy one JAR, get a fully operational notification backend with auth, persistence, delivery tracking, and a built-in admin panel.

REST API

Send notifications to users, topics, or broadcast — via POST /api/notifications/*. Secure with JWT or API key. No SDK required on the caller side.

📦

PostgreSQL Persistence

Notifications for offline users are stored in queued_notifications and flushed on reconnect. Topic subscriptions and audit logs survive restarts.

🔒

JWT + API Key Auth

Admin access via short-lived JWTs with rotating refresh tokens. Machine-to-machine via X-API-Key. End-users authenticate WebSocket connections with per-user tokens.

Real-time WebSocket Delivery

Online users receive notifications instantly. ACK-based delivery tracking with automatic retries. Heartbeat ping/pong keeps connections alive and stale ones are cleaned up.

🖥

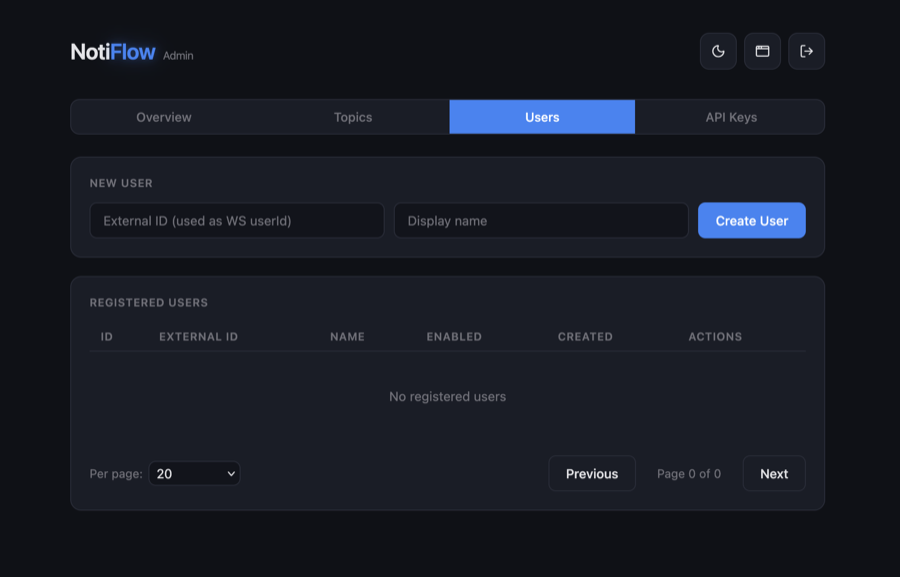
Admin GUI

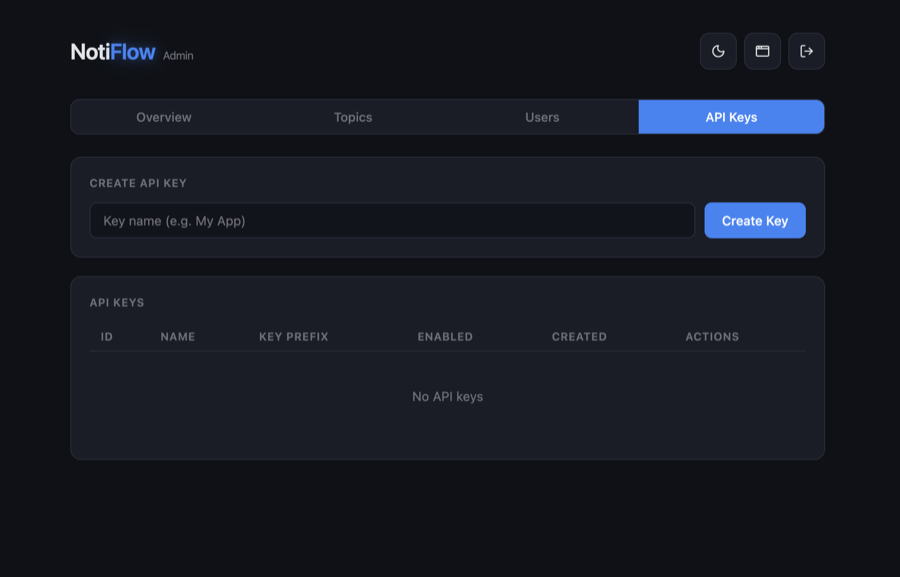
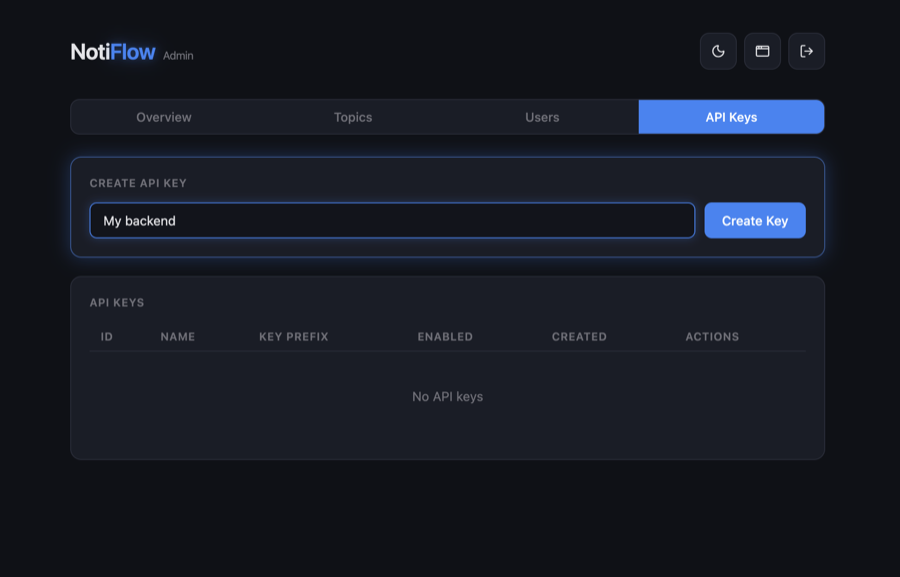
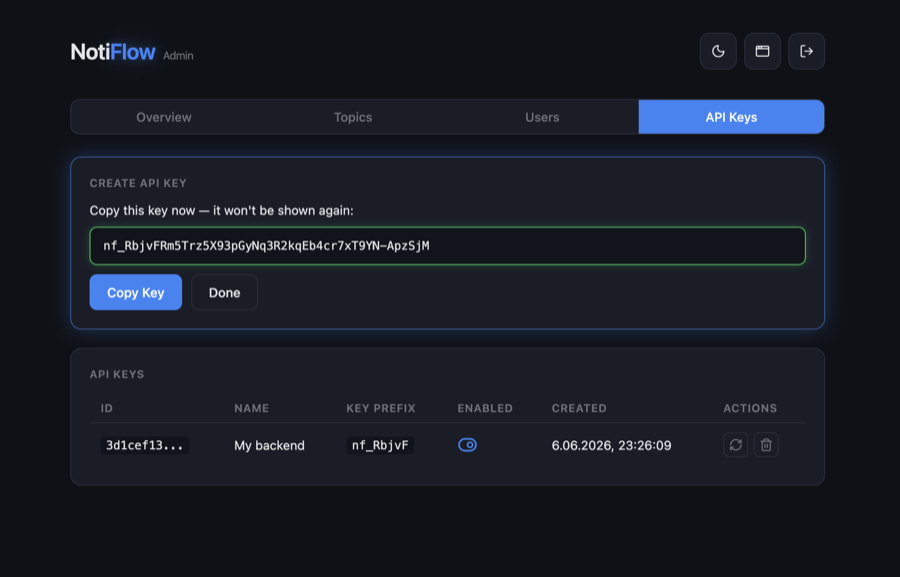
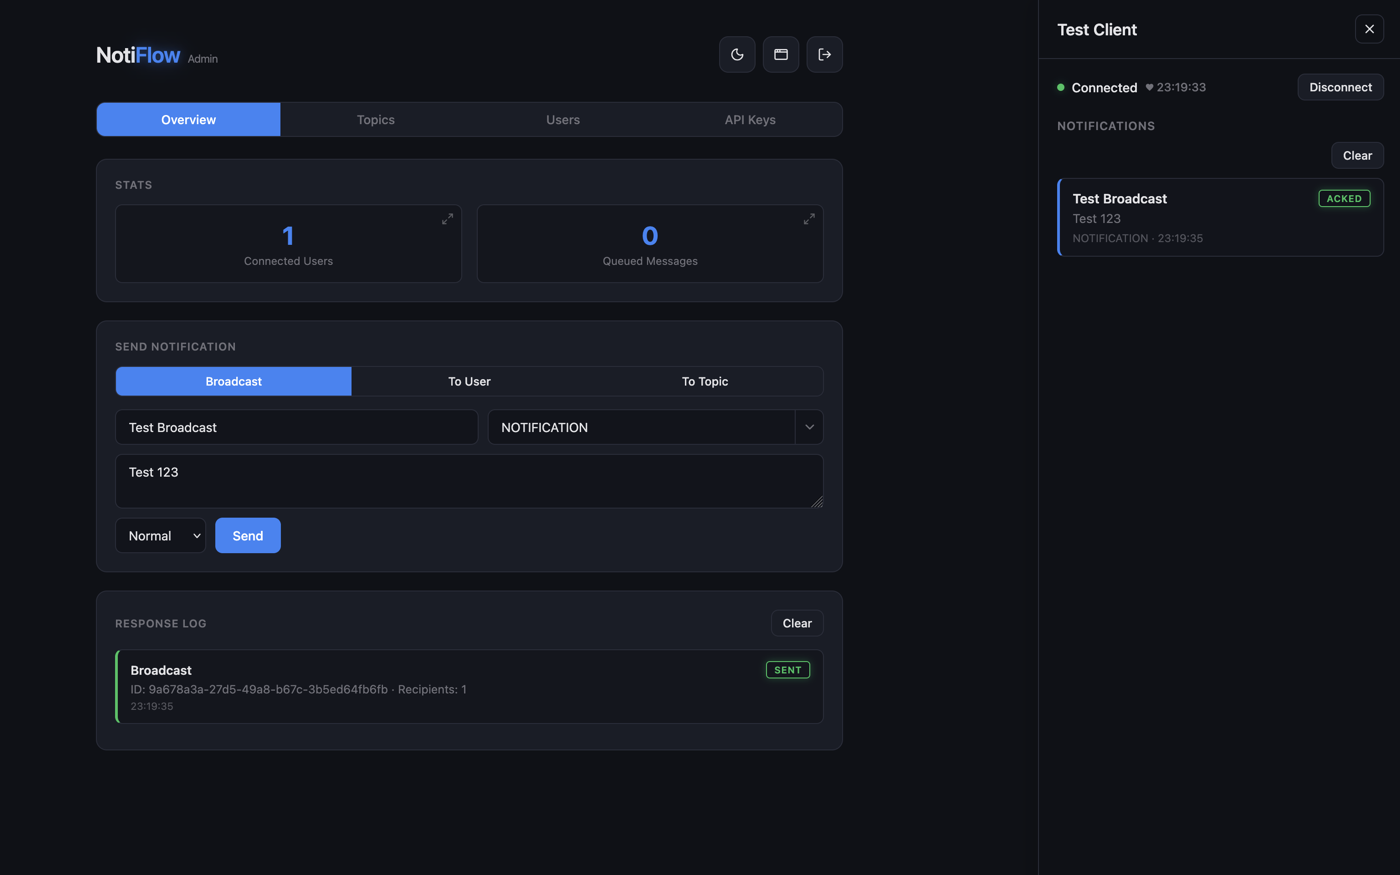
Built-in admin panel at /admin.html — no extra deployment. Full Vue 3 dashboard available separately with user management, topic management, API key admin, and a live WebSocket test client.

📋

Swagger UI + Audit Log

Interactive API explorer at /swagger-ui/index.html. Every notification send, ACK, and retry failure is recorded in the notification_audit table.

From REST call to WebSocket delivery

Your backend calls the API. NotiFlow handles routing, queuing, retry, and delivery.

notification-flow.txt
POST /api/notifications/user/user-42
|
v
NotificationController
|
v
NotificationService
/ \
User online? User offline?
| |
v v
WebSocket session JpaNotificationQueue
| (PostgreSQL)
v |
Envelope{NOTIFICATION} on reconnect → Envelope{QUEUED}
|
ACK from client
v
AuditingDeliveryTracker ---- notification_audit (acked_at = now())
Quick Start

Running in under 5 minutes

Start the database, run the JAR, set your admin password, and start sending notifications.

1

Start PostgreSQL and the app

Use the included docker-compose.yaml to start both PostgreSQL and the application.

docker-compose.yaml
services:
postgres:
image: postgres:16-alpine
environment:
POSTGRES_DB: ${POSTGRES_DB}
POSTGRES_USER: ${POSTGRES_USER}
POSTGRES_PASSWORD: ${POSTGRES_PASSWORD}
volumes:
- postgres-data:/var/lib/postgresql/data
networks:
- notiflow-net
healthcheck:
test: ["CMD-SHELL", "pg_isready -U ${POSTGRES_USER} -d ${POSTGRES_DB}"]
interval: 10s
timeout: 5s
retries: 5
start_period: 30s
restart: unless-stopped
security_opt:
- no-new-privileges:true
app:
image: notiflow-app:latest
ports:
- "${APP_PORT:-8080}:8080"
environment:
DB_URL: jdbc:postgresql://postgres:5432/${POSTGRES_DB}
DB_USERNAME: ${POSTGRES_USER}
DB_PASSWORD: ${POSTGRES_PASSWORD}
JWT_SECRET: ${JWT_SECRET}
CORS_ORIGINS: ${CORS_ORIGINS}
depends_on:
postgres:
condition: service_healthy
networks:
- notiflow-net
restart: unless-stopped
read_only: true
tmpfs:
- /tmp
security_opt:
- no-new-privileges:true
networks:
notiflow-net:
driver: bridge
volumes:
postgres-data:
2

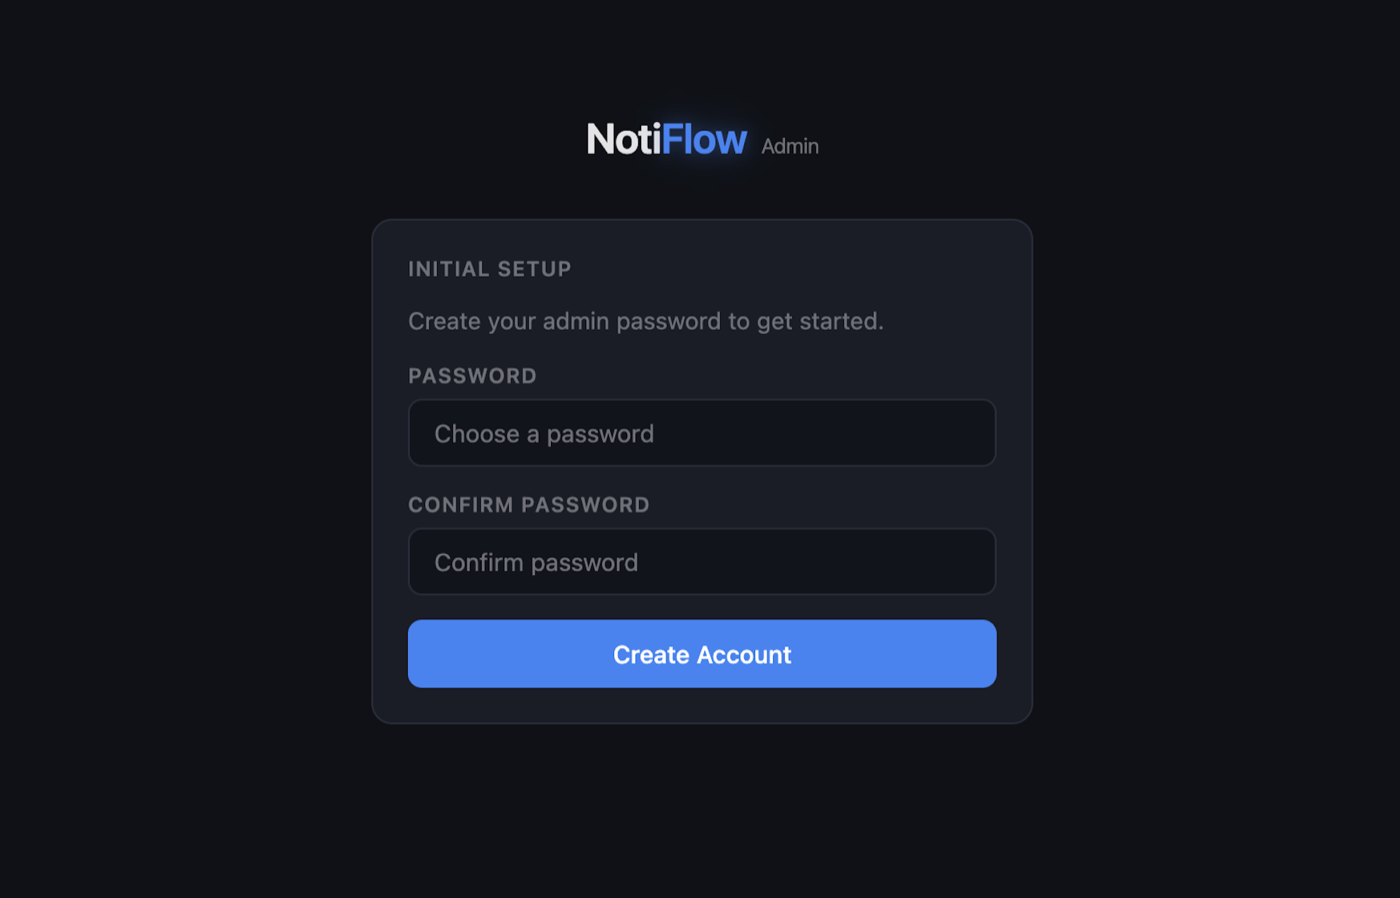
Set admin password and log in

On first boot, set the admin password, then obtain a JWT for authenticated API calls.

curl
# One-time setup
curl -X POST http://localhost:8080/api/auth/setup \
-H "Content-Type: application/json" \
-d '{"password":"changeme"}'
# Login — save the accessToken from the response
curl -c cookies.txt -X POST http://localhost:8080/api/auth/login \
-H "Content-Type: application/json" \
-d '{"username":"admin","password":"changeme"}'
3

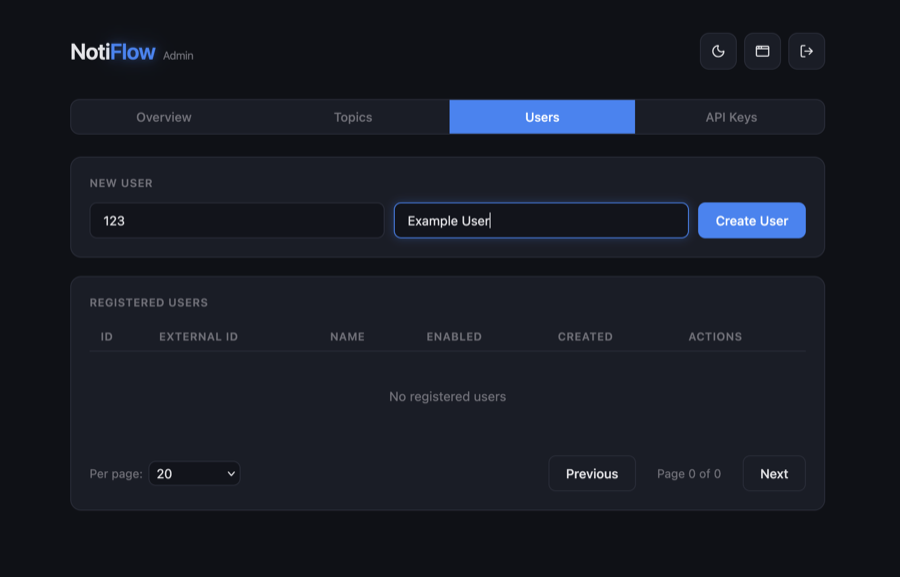
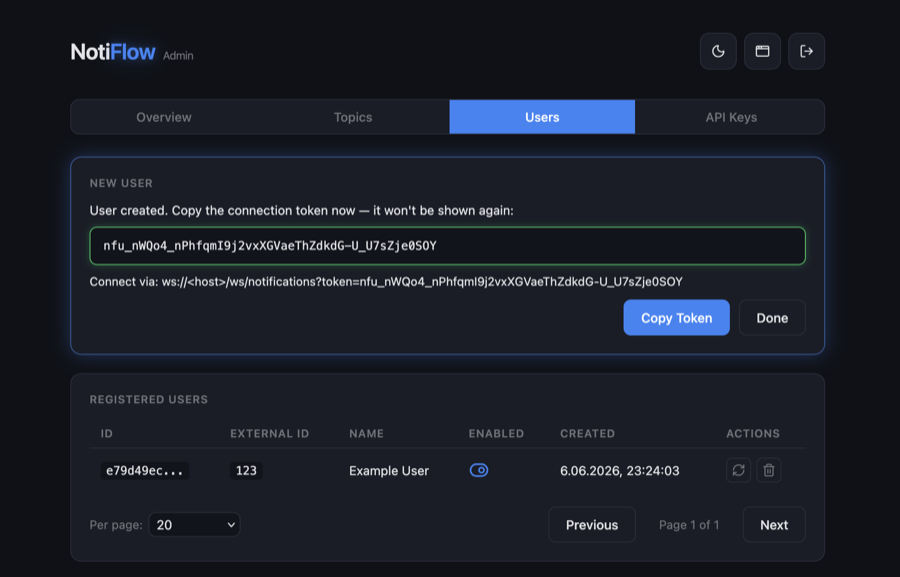
Register a user and create an API key

Create an end-user to get their WebSocket token. Create an API key for your backend service.

curl
# Register user — response contains WebSocket token
curl -X POST http://localhost:8080/api/users \
-H "Authorization: Bearer <accessToken>" \
-H "Content-Type: application/json" \
-d '{"externalId":"user-42","name":"Alice"}'
# Create API key for your backend service
curl -X POST http://localhost:8080/api/admin/api-keys \
-H "Authorization: Bearer <accessToken>" \
-H "Content-Type: application/json" \
-d '{"name":"order-service"}'
4

Connect via WebSocket and send a notification

The user connects with their token. Your backend sends a notification via the API.

client.js + curl
// Client connects with their token
const ws = new WebSocket('ws://localhost:8080/ws/notifications?token=nfu_<token>');
ws.onmessage = (e) => {
const { type, id, payload } = JSON.parse(e.data);
if (type === 'NOTIFICATION') {
console.log(payload.title, payload.message);
ws.send(JSON.stringify({ type: 'ACK', payload: { notificationId: id } }));
}
};
# Backend sends notification
curl -X POST http://localhost:8080/api/notifications/user/user-42 \
-H "X-API-Key: nf_<key>" \
-H "Content-Type: application/json" \
-d '{"title":"Order shipped","message":"On its way!","priority":"HIGH"}'

Ready to deploy?

Check the full documentation for the complete REST API reference, database schema, configuration options, and Docker deployment guide.

Full Documentation Library Docs